
Setting up the projector display is simple and straight forwards using the following steps. Once completed the first time both Windows and FreeWorship should remember there respective settings automatically adjust in future.
Stage 1 – Turn on projector display
Before proceeding make sure your projector is plugged in and turned on. Windows may automatically then complete stage 1 and extend the desktop to the projector. If not, continue with step 1.
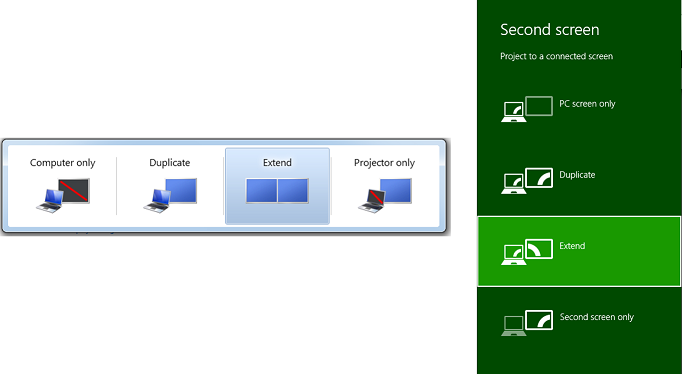
Step 1: Hold the windows key while tapping P to select Extend. This shortcut should enable the projector display, if so you can move on to stage 2. If not continue with steps 2 & 3. Windows 7 (Left) & Windows 8 (Right)
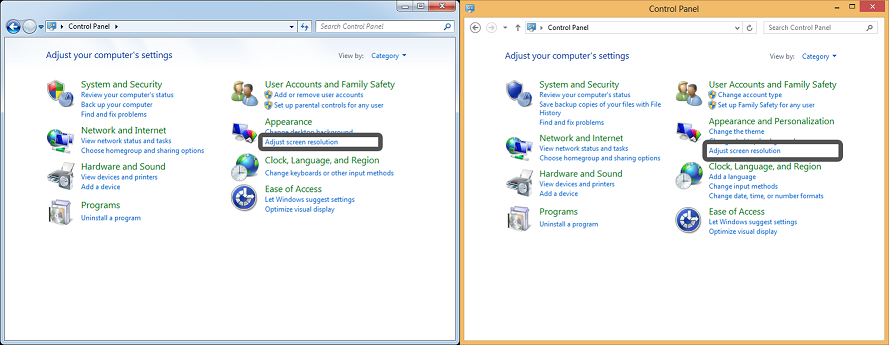
Step 2: Open control panel and select “Adjust Screen Resolution”. Windows 7 (Left) & Windows 8 (Right)
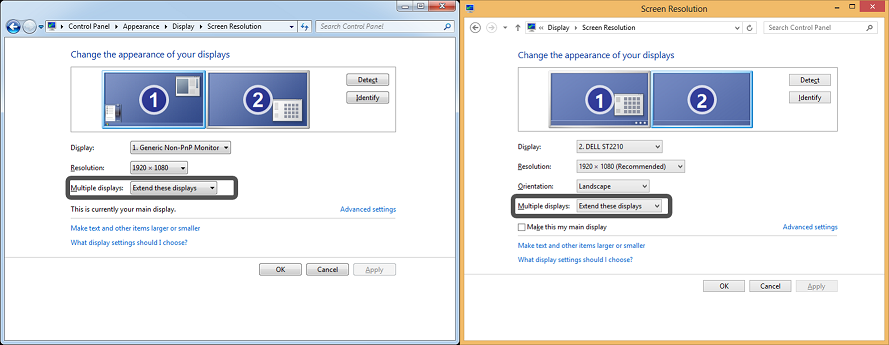
Step 3: Select a suitable resolution for each display and select Extend these displays. Windows 7 (Left) & Windows 8 (Right)
Stage 2 – Setup FreeWorship
Once the projector is setup as a screen FreeWorship may need to be setup to select the projector as the screen to use. This may however already be setup as FreeWorship trys to choose the best screen it can.
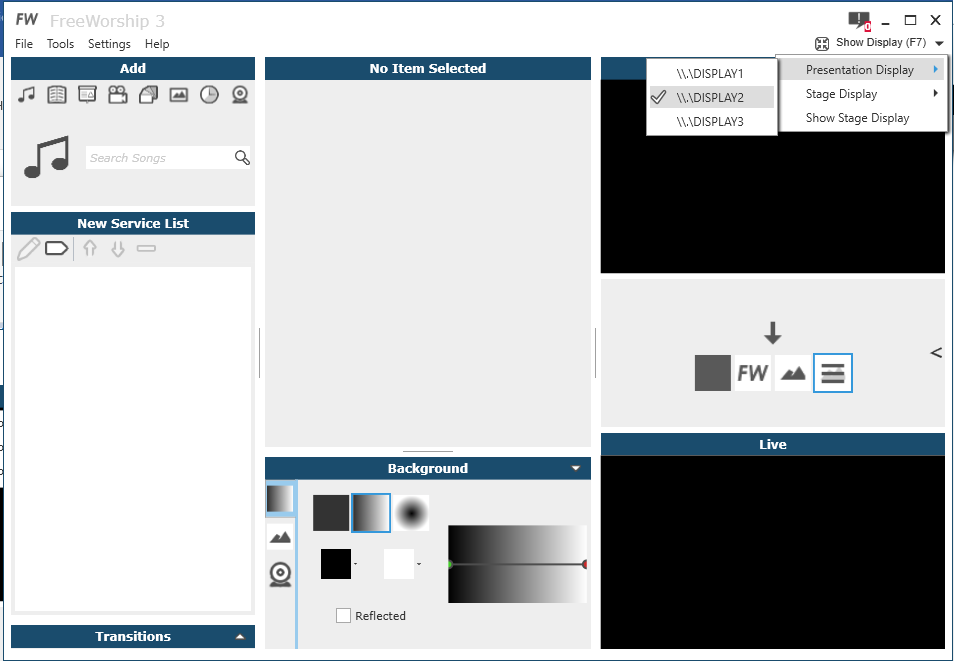
Step 1: Within FreeWorship open the Show Display dropdown and select one of the displays in the Presentation Display menu. On most computers and laptops a projector will be the second monitor and will be named \\.\DISPLAY2.